
Introduction
Owning a PlayStation 3 offers countless hours of entertainment, but like all electronics, it requires occasional maintenance. Whether you’re contemplating a repair, cleaning, or are simply curious about what lies within the sleek exterior, learning how to safely open your PS3 console can be invaluable. This article provides a meticulous guide to open your PS3 console effectively, ensuring its longevity and peak performance.
Tools and Safety Precautions
Before starting, gather the appropriate tools and consider safety precautions. Working on electronics can be daunting, but with the right preparation, it becomes more approachable.
Essential Tools You Will Need:
- A precision screwdriver set, particularly with a T8 or T10 Torx bit.
- A plastic prying tool to avoid scratches.
- Tweezers for small component handling.
- An anti-static wrist strap to prevent any static discharge.
Safety Measures to Follow:
- Ensure the console is unplugged from any power sources.
- Wear an anti-static wrist strap to prevent static electricity from damaging internal components.
- Work on a soft, clean surface to avoid any scratches or damage to the console.
With these preparations complete, it’s time to understand the console layout, crucial for a smooth disassembly process.
Understanding Your PS3 Console Layout
Familiarity with the PS3’s design aids in the disassembly process, making it more intuitive.
External Features and Access Points:
The PS3 console, with its distinct design, has several screws and panels. Knowing their locations expedites opening your console:
- Locate the hard drive cover beneath the console.
- Identify stickers that conceal screws.
Internal Components Overview:
Understanding the internal architecture is key. Once inside, you’ll encounter components like:
- The power supply unit (PSU).
- The Blu-ray drive, responsible for reading discs.
- The cooling system, including the fan, which often requires cleaning.
This understanding sets the stage for actually opening the console and preparing for maintenance tasks.
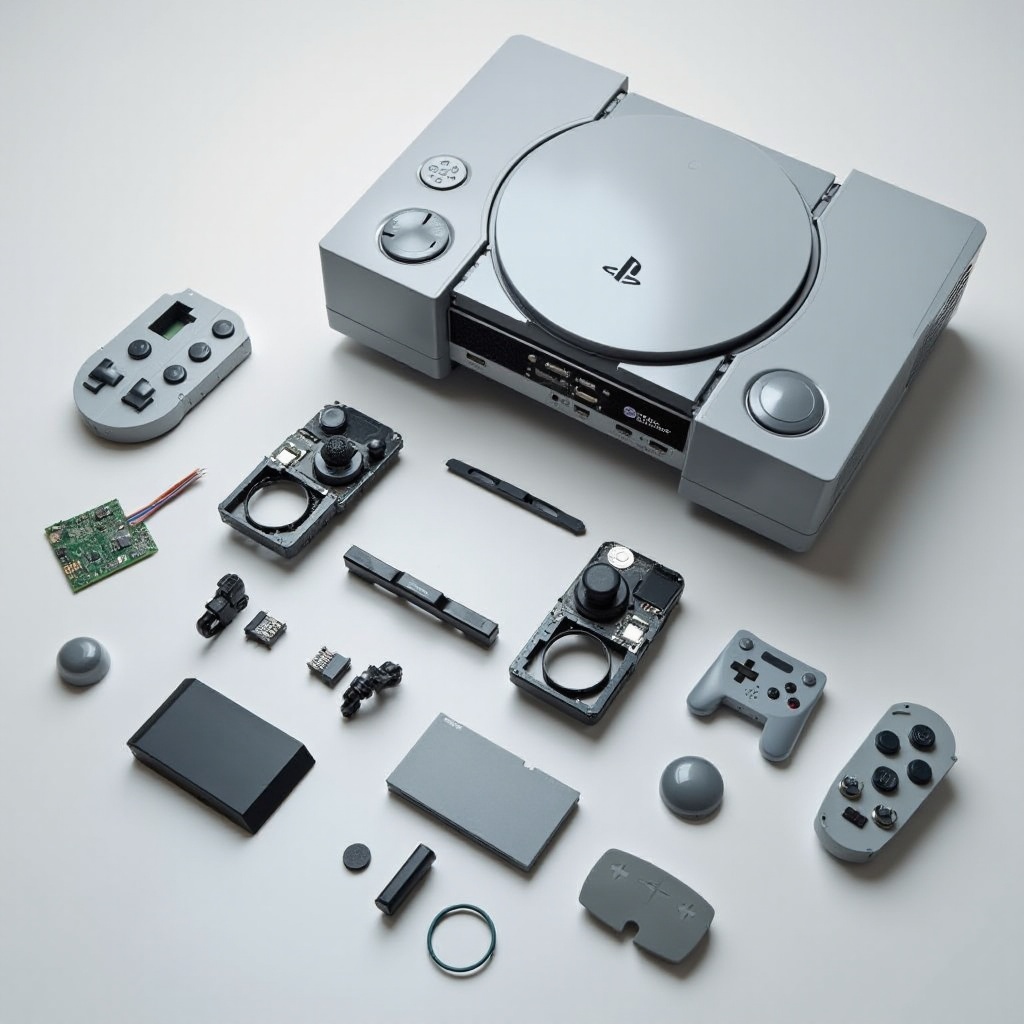
Preparing to Open Your PS3
Preparation is critical to ensure a smooth disassembly. Here’s how to get started safely:
Setting Up Your Workspace:
- Choose a clean, clutter-free surface to work on.
- Keep containers or bags nearby to store screws and small parts.
Powering Down and Disconnecting:
- Unplug the console from all cables and give it a few minutes to cool down.
- Remove any inserted discs or storage devices.
With your PS3 ready, the actual disassembly can begin.
Step-by-Step Guide to Opening the PS3 Console
The following steps outline the process of safely opening your beloved console:
- Removing the Outer Screws and Case:
- Begin by peeling off the stickers to reveal the hidden screws.
- Use the Torx screwdriver to remove the screws carefully. Place them in a labeled container to avoid mix-ups.
-
Gently use the plastic prying tool to unclip and remove the top cover.
-
Accessing the Internal Components:
- With the outer case off, locate and carefully disconnect the power supply connections.
-
Unscrew and dismount the Blu-ray drive, being cautious with its delicate cables.
-
Tips to Avoid Damage:
- Avoid forceful prying. If a part seems stuck, double-check for hidden screws or clips.
- Be gentle with ribbons and cables. Damaged connectors can render components inoperable.
Now that you’ve accessed the internals, it’s time to perform essential maintenance tasks.
Performing Basic Maintenance and Repairs
Opening the console provides a prime opportunity for maintenance:
Cleaning Internal Components:
- Use compressed air to blow away dust, especially from the fan and heat sink.
- Gently wipe internal surfaces with a microfiber cloth if necessary.
Replacing Thermal Paste:
- Clean the old thermal paste off the CPU with isopropyl alcohol to improve cooling efficiency.
- Apply a fresh, thin layer of thermal paste to maintain optimal heat transfer.
Once maintenance is completed, ensuring everything is reassembled correctly is crucial for proper console functionality.
Reassembling Your PS3 Console
Careful reassembly ensures your PS3 is ready to perform perfectly. Follow these steps:
Securing Components Back in Place:
- Reverse the disassembly steps, ensuring each component is securely fastened.
- Pay close attention to fitting cables correctly to their connectors.
Testing the Console for Functionality:
- Reattach the power and HDMI cables before turning on the console.
- Check for functionality by running a game or video to verify everything is working.
With everything back in place, you should now have a console that operates smoothly.
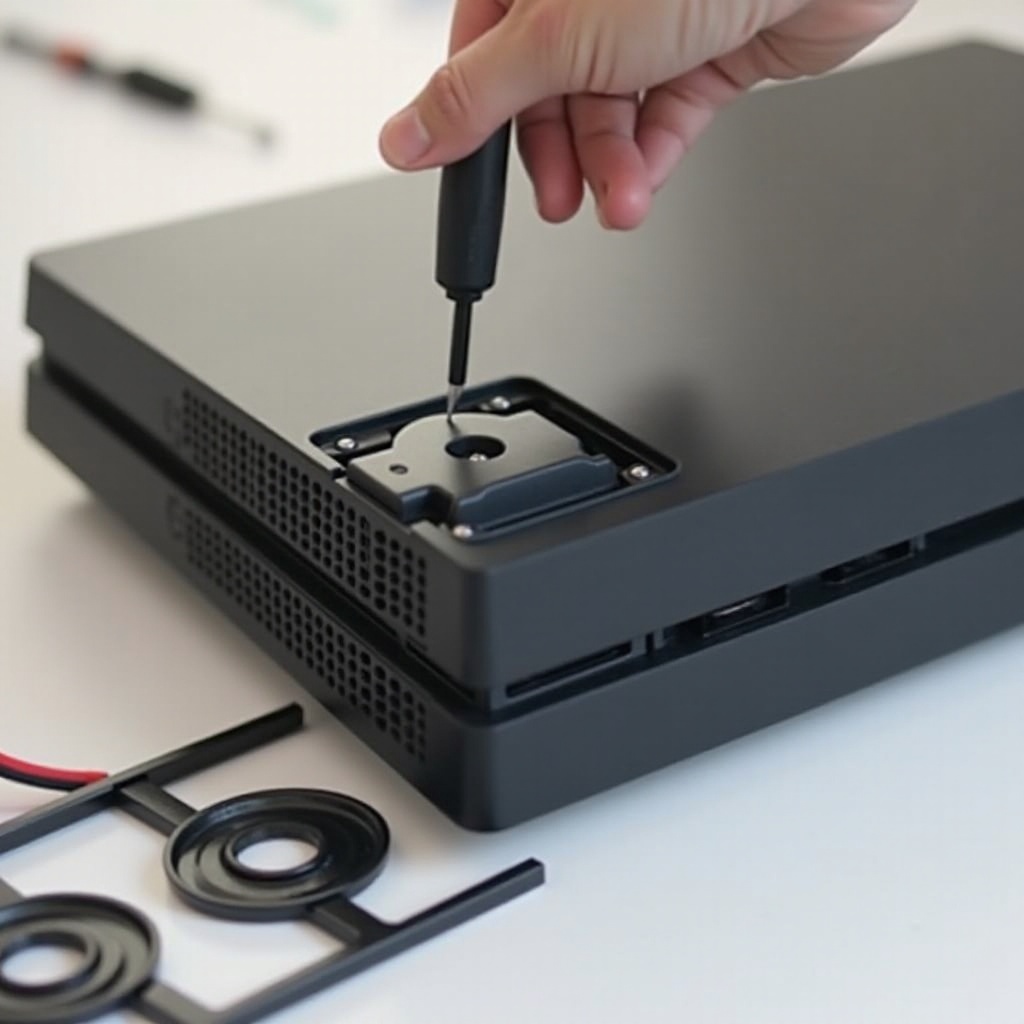
Conclusion
Safely opening your PS3 console can extend the life of your device by allowing you to clean and fix internal parts. With the proper tools and precautions, the process is manageable and rewarding. Regular maintenance not only enhances performance but also provides an opportunity to learn more about the technology you enjoy.
Frequently Asked Questions
How often should I clean the inside of my PS3?
It’s recommended to clean the interior of your PS3 every 6 to 12 months to prevent dust buildup, especially if it’s in a dusty environment.
What should I do if I break a component while opening the PS3?
If you break a component, assess the damage. Many parts can be replaced, and online guides or professionals can assist with repairs.
Can opening my PS3 void its warranty?
Opening your PS3 does void the warranty, so it is recommended to only do so if the warranty has expired or if you’re confident in your repair skills.