Introduction
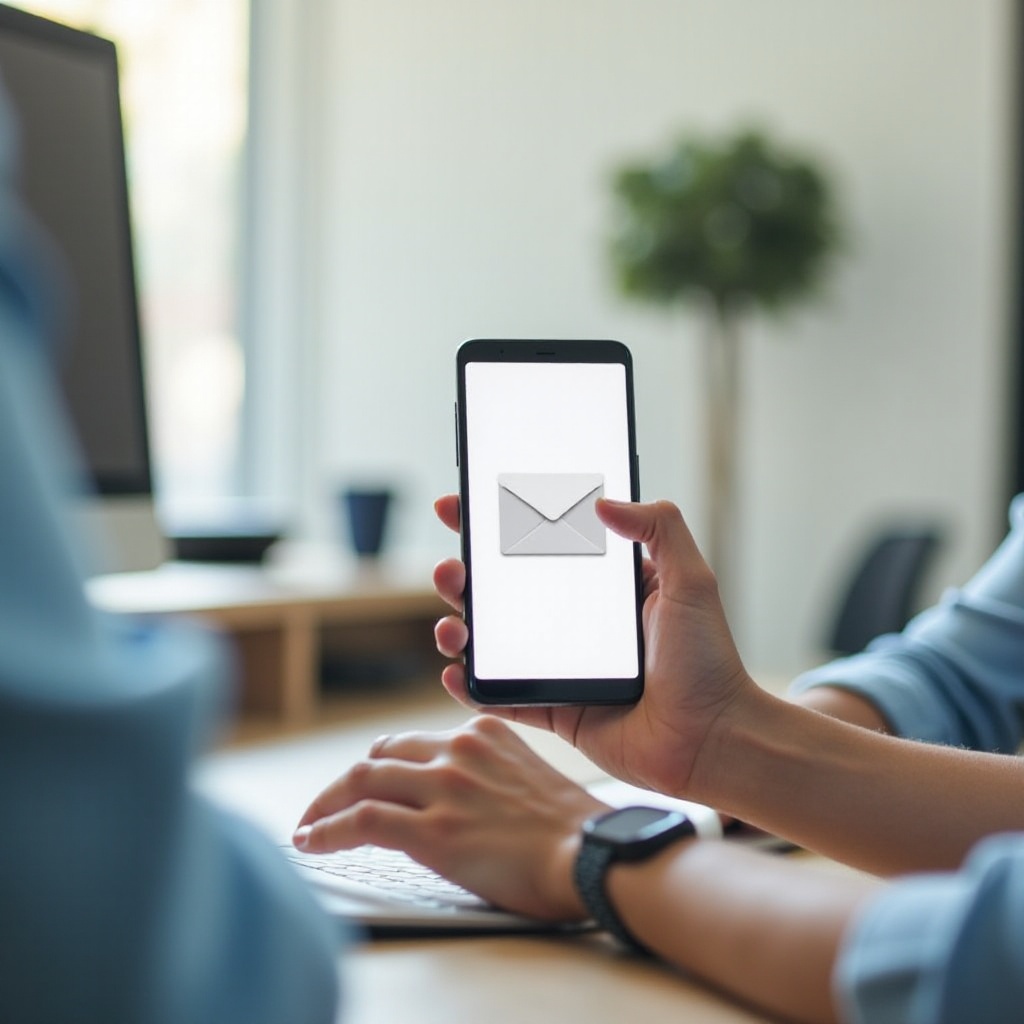
Connecting with others through email from your Android phone is a seamless process when you know the right steps. Whether you’re typing out a quick message or organizing your business correspondence, understanding how to effectively use your email app can save you time and help you stay organized. This guide will walk you through choosing the best email app, setting up your account, composing messages, and using advanced features to enhance your email experience.
Choosing and Installing the Right Email App
The first step in emailing from your Android phone is selecting the most suitable email app. With numerous options available, it can be overwhelming. Here are some popular choices:
- Gmail – Ideal for those who use Google services extensively.
- Outlook – Perfect if you rely on Microsoft services or use multiple email accounts.
- Yahoo Mail – Good for users with legacy Yahoo accounts.
- Aqua Mail – A great option for power users who require extensive customization.
To install an email app:
- Open the Google Play Store.
- Search for the app you need.
- Tap ‘Install’ and wait for the app to download and install on your phone.
Once the app is installed, you’re ready to set up your email account.
Setting Up Your Email Account
After installing your chosen email app, follow these steps to set up your email account:
- Open the Email App: Tap the email app icon to launch it.
- Add Account:
- For Gmail: Tap on ‘Add another email address.
- For Outlook: Tap on ‘Get Started’ and then ‘Add Account.
- Enter Your Email Address: Type your email address and tap ‘Next.
- Enter Password: Input your password and tap ‘Next.
- Configure Sync Settings: Choose how often you want your email to sync. This is where you can select options such as notifications, calendar integration, and contact sync.
- Confirm Settings: Review the settings and tap ‘Next’ to finish the setup.
Now your email account is connected, and you’re ready to start sending and receiving emails.
Composing and Sending Emails
With your email account set up, composing and sending emails is straightforward:
- Open Email App: Tap the app icon to open it.
- Tap Compose Icon: Usually represented by a pencil or ‘+’.
- Enter Recipient: Type the recipient’s email address in the ‘To’ field. You can add multiple recipients if necessary.
- Compose Subject: Add a subject line that succinctly captures the essence of your email.
- Write Your Message: Type your message in the main body area.
- Add Attachments (if needed): Tap the attach icon (usually a paperclip) to add files.
- Send Email: Tap the send icon (usually a paper plane) to dispatch your email.
Composing detailed and clear messages ensures effective communication and helps you keep your threads manageable.
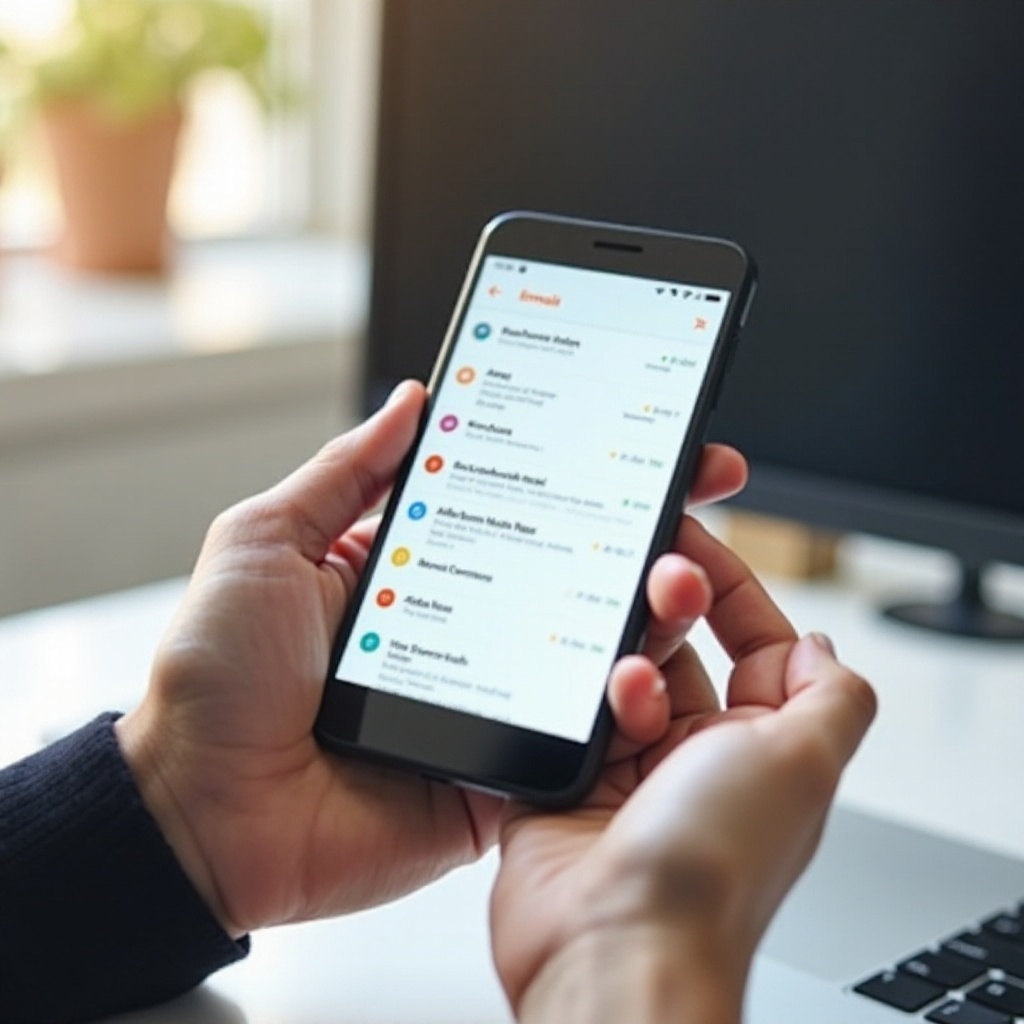
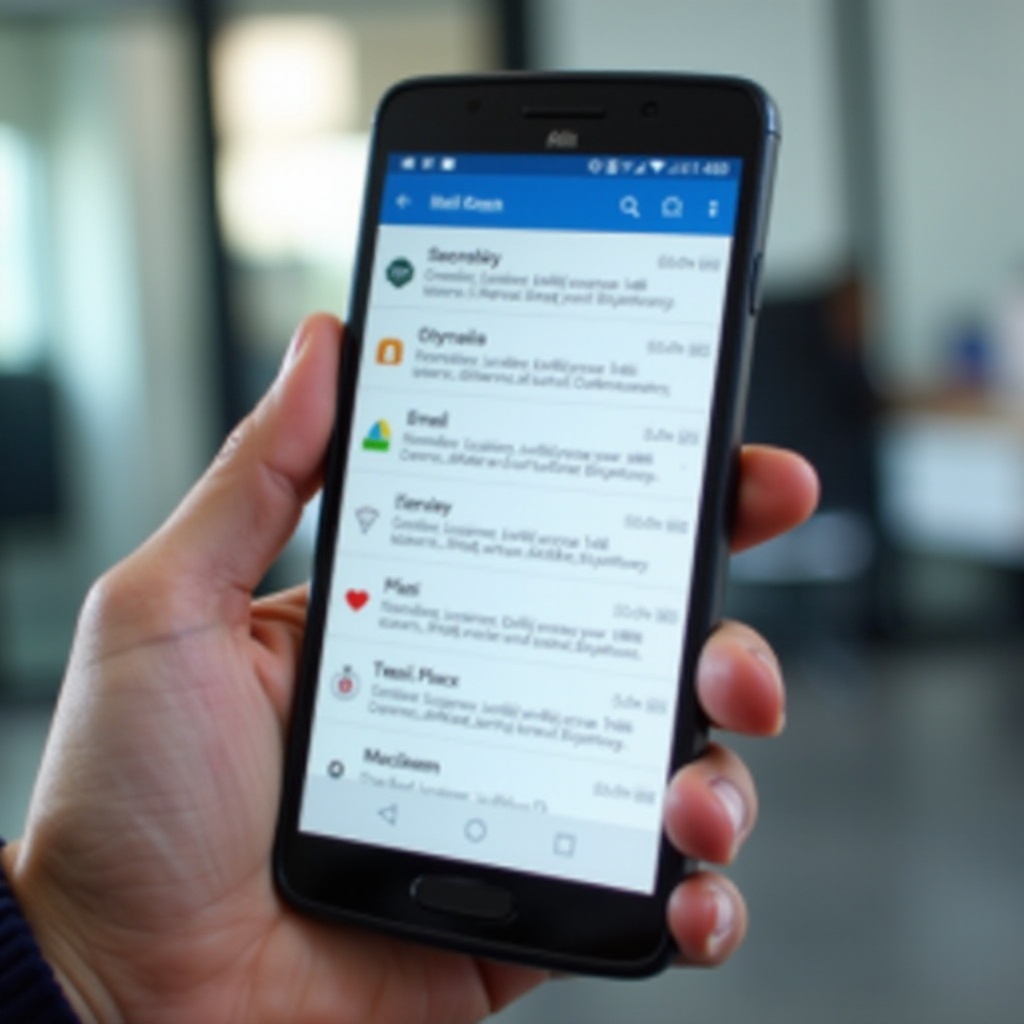
Organizing Your Inbox
Keeping your inbox organized is crucial for managing your emails efficiently. Here’s how to do it:
- Folders/Labels: Use folders or labels to categorize your emails. Create folders for different projects or types of communication.
- Filters/Rules: Set up filters or rules to automatically sort incoming emails into respective folders.
- Starring/Flagging: Star or flag important messages so you can find them quickly.
- Archiving: Archive emails that you need to keep but do not require immediate access. This keeps your inbox clean.
By regularly organizing your inbox, you can enhance productivity and ensure that important communications are not overlooked.
Advanced Email Features
Besides basic email functionalities, many apps offer advanced features:
- Scheduled Send: Schedule your emails to be sent at a later date and time.
- Email Templates: Use templates for repetitive, standard emails.
- Integration with Other Apps: Some email apps integrate with calendar and task management apps, enhancing productivity.
- Multiple Signatures: Switch between different email signatures based on the account you are using.
Exploring and utilizing these advanced features can significantly enhance your email management.
Troubleshooting Common Issues
Occasionally, you may encounter problems. Here are some common issues and solutions:
- Email Not Syncing:
- Ensure your internet connection is stable.
- Check sync settings in the email app.
- Remove and re-add your email account.
- App Crashing:
- Clear the app cache and data.
- Ensure the app is updated to the latest version.
- Cannot Send/Receive Emails:
- Verify that your account settings are correct.
- Check the server settings in the email app.
Addressing these issues promptly ensures that your email service remains reliable.
Conclusion
Emailing from an Android phone can be simple and efficient when you know how to navigate your app. From setting up your account to exploring advanced features, this guide equips you with the knowledge to handle your email needs effectively. Embrace these tips, and you’ll find that managing emails becomes a seamless part of your daily routine.
Frequently Asked Questions
How do I add attachments to my email on Android?
To add attachments to an email, tap the attach icon (usually a paperclip) while composing your message. Then, browse your files and select the document, image, or other file you wish to attach.
Can I use multiple email accounts on my Android phone?
Yes, most email apps allow you to add multiple email accounts. Go to your email app’s settings and select ‘Add account.’ You can then enter the details for another email account and switch between accounts as needed.
Why is my email not syncing on my Android phone?
If your email isn’t syncing, check your internet connection, ensure sync settings are enabled in your email app, and verify that you have the correct account settings. If issues persist, try removing and re-adding your email account or restarting your phone.